
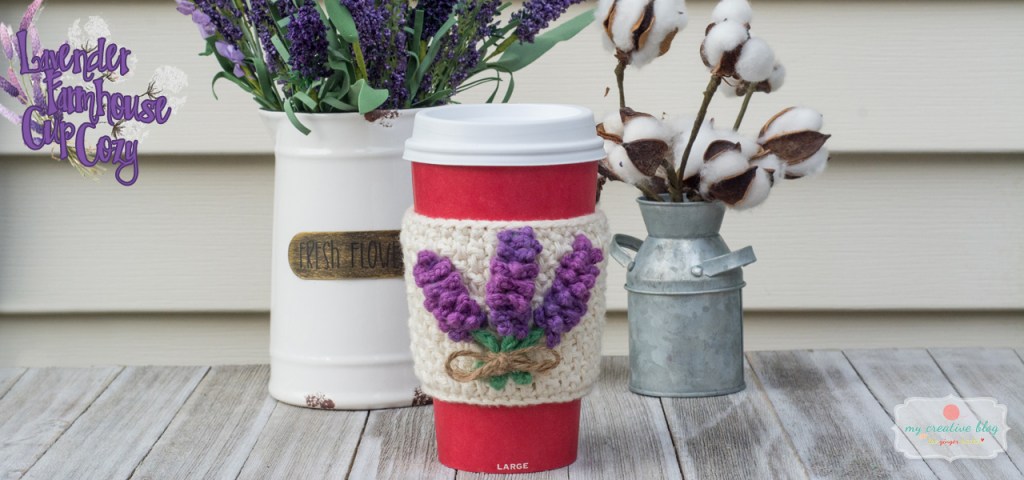
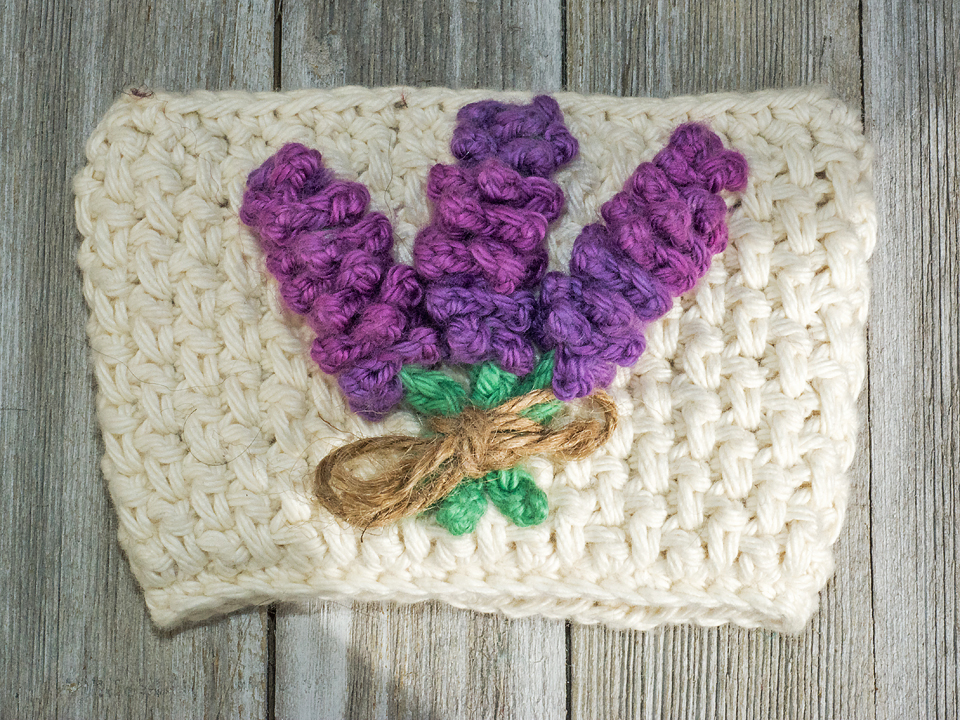
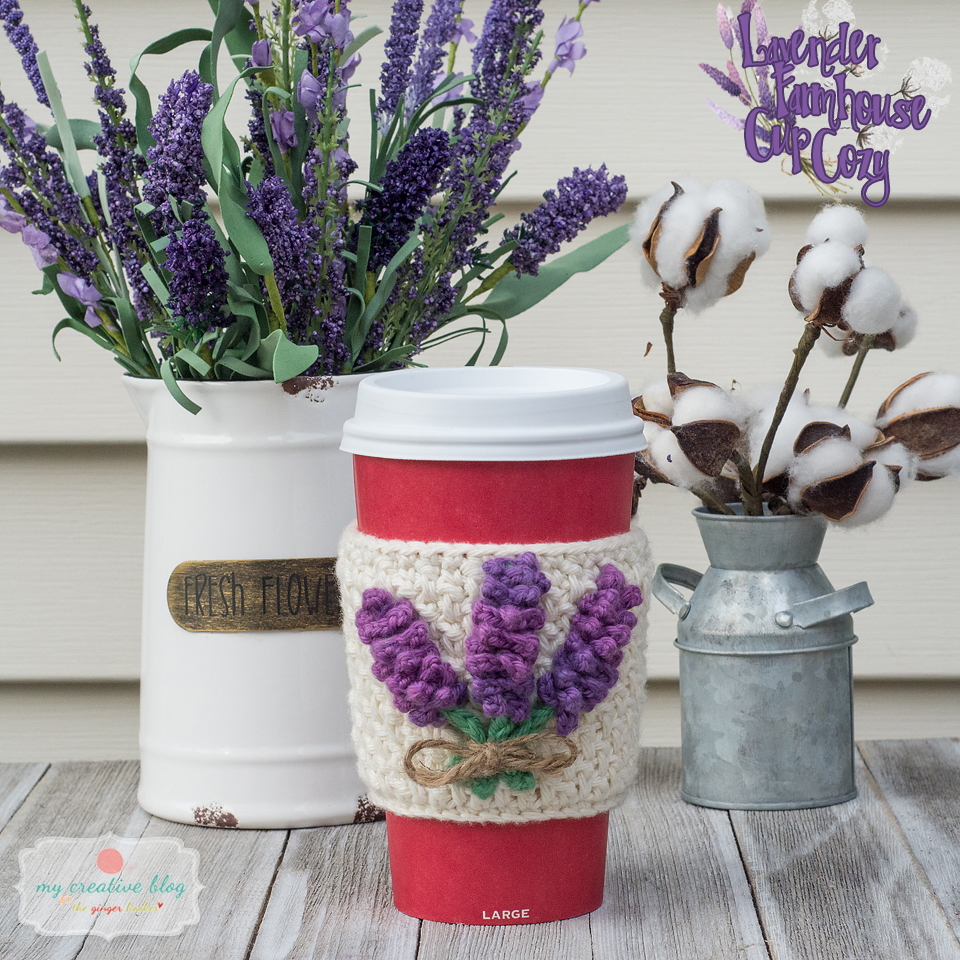
I love my Sheetz™ coffee, and I love making cup cozies to use while holding my Sheetz™ coffee. I decided, as we slide into Spring, that I needed a pretty, flowery cup cozy. That gave me the idea for this beautiful lavender flower cup cozy. Some people have also said that the flowers look like hyacinth so depending on your favorite, it could be either. Either way, it’s beautiful and gives it that farmhouse charm.
Materials:
- Less than a skein of worst-weight cotton yarn in cream
(I used Red Heart Scrubby Smoothie Yarn in Loofa) - Small amount of worsted-weight cotton yarn in purple
(I used Hobby Lobby’s I love this Cotton! in Strawberry Violet - Small amount of worsted-weight cotton yarn in green
(I used Hobby Lobby’s I love this Cotton! in Apple Green - Size H (5.0mm) Crochet Hook
- Size E (3.5mm) Crochet Hook
- Small amount of jute twine
Size: 10″ Circumference x 3½” Height
Guage:
4 rows x 4 stitches = 1″ in
Extended Moss Stitch Pattern
Difficulty:
❤❤♡♡ Easy
| Abbreviations: | |
| ch = Chain st(s) = stitch(es) sl st = Slip Stitch sk st = skip stitch | sc = Single Crochet dc = Double Crochet |
Instructions:
- This pattern is written in American Standard Terms.
- Place a marker in the first stitch of every round to indicate the beginning and move the marker up at the start of each new round.
- All stitches are worked through both loops unless otherwise indicated.
- Instructions between ** are to be repeated until the end of the round.
- Instructions between [] are made in the same st.
- Numbers between () indicate the total amount of stitches in that round.
- When making color changes, remember to always change to the new color before the last yarn over of the last stitch in the old color.
Cup Cozy:
With H (5.0mm) hook and cream yarn, ch-39, join to form circle.
Round 1: sc in each ch around, sl st in first sc to join. (39)
Round 2: ch-4 (counts as dc & ch-1), sk st, dc, *ch-1, sk st, dc* around, sl st to top of ch-3 to join. (20 dc, 19 ch-1)
Round 3: ch-1, sc in same st, *ldc in st below ch-1, ch-1, sk st* around, sl st to join.
Round 4: ch-4 (counts as dc & ch-1), sk st, ldc in st below ch-1, *ch-1, sk st, ldc in st below ch-1* around, sl st to top of ch-3 to join.
Round 5: ch-1, sc in same st, *ldc in st below ch-1, ch-1, sk st* around, sl st to join.
Round 4-13: Repeat rounds 4 & 5 (4 times)
Round 14: sc, sc, *ldc in st below ch-1, sc* around.

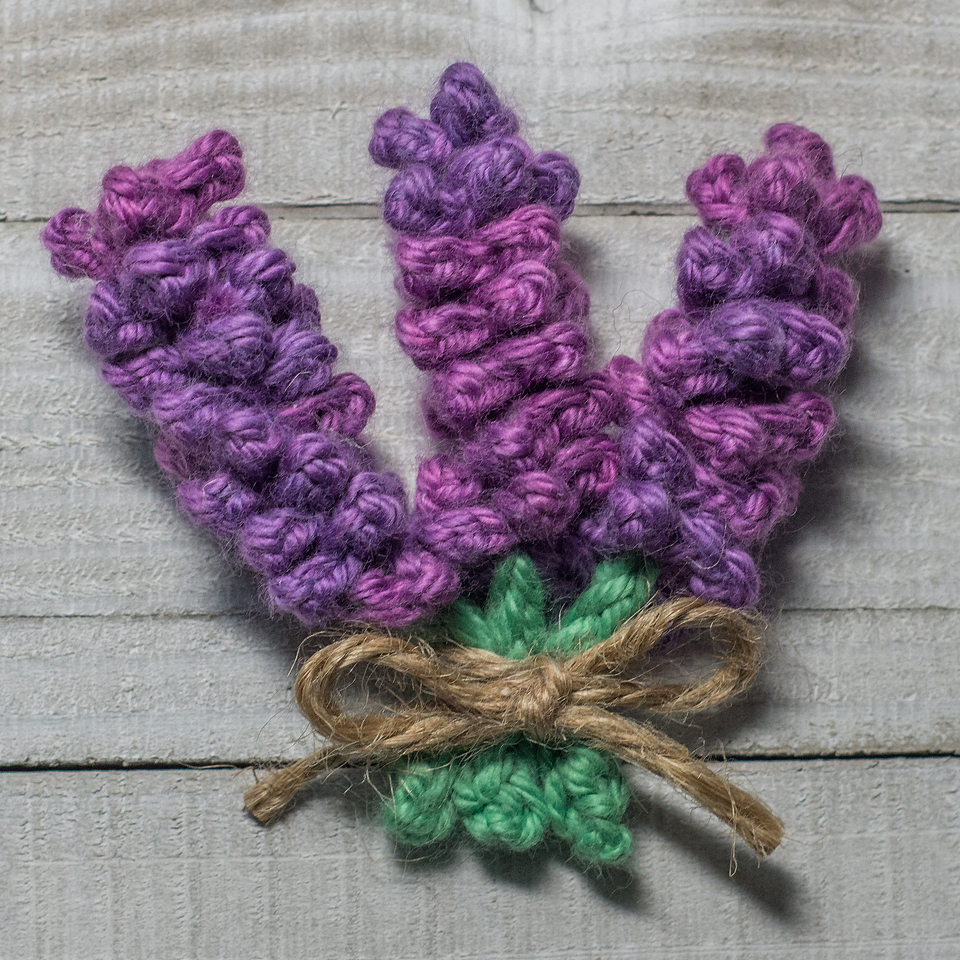
Lavender Flower: (make 3)
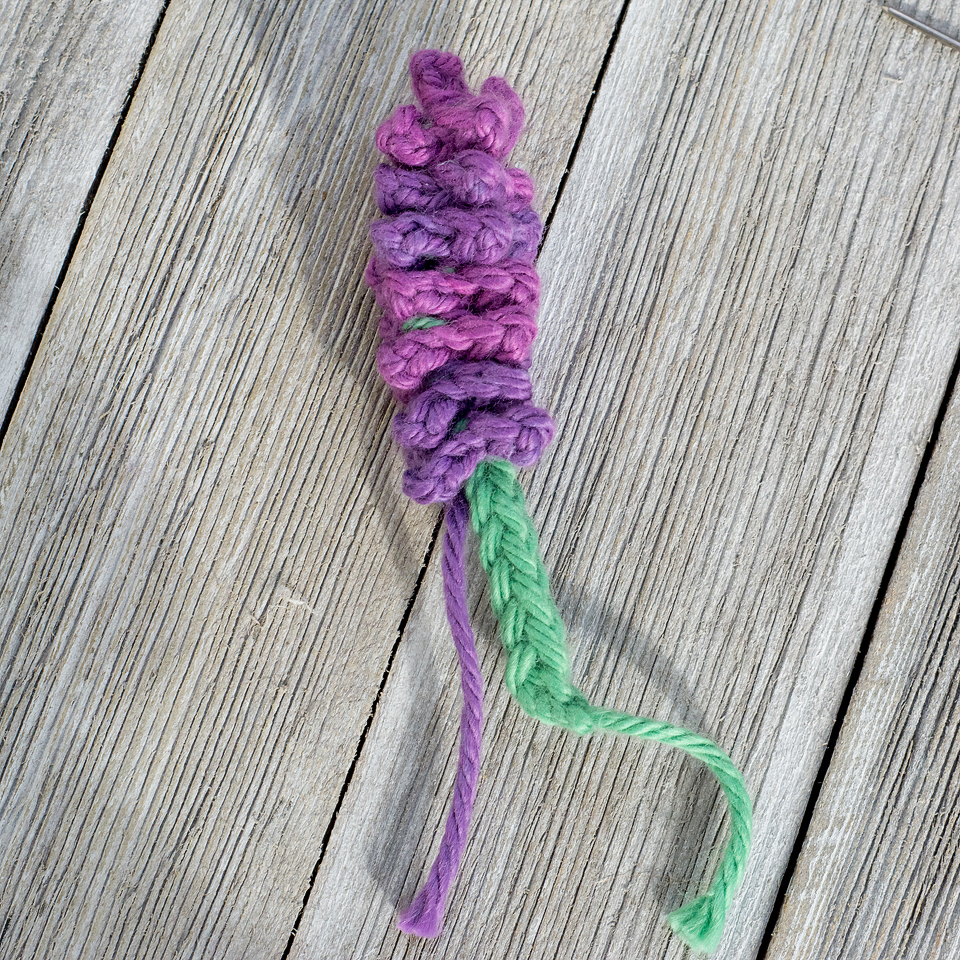
I-Cord Stem:
More information on creating a crocheted i-cord: https://www.redheart.com/learn/articles/how-crochet-icord
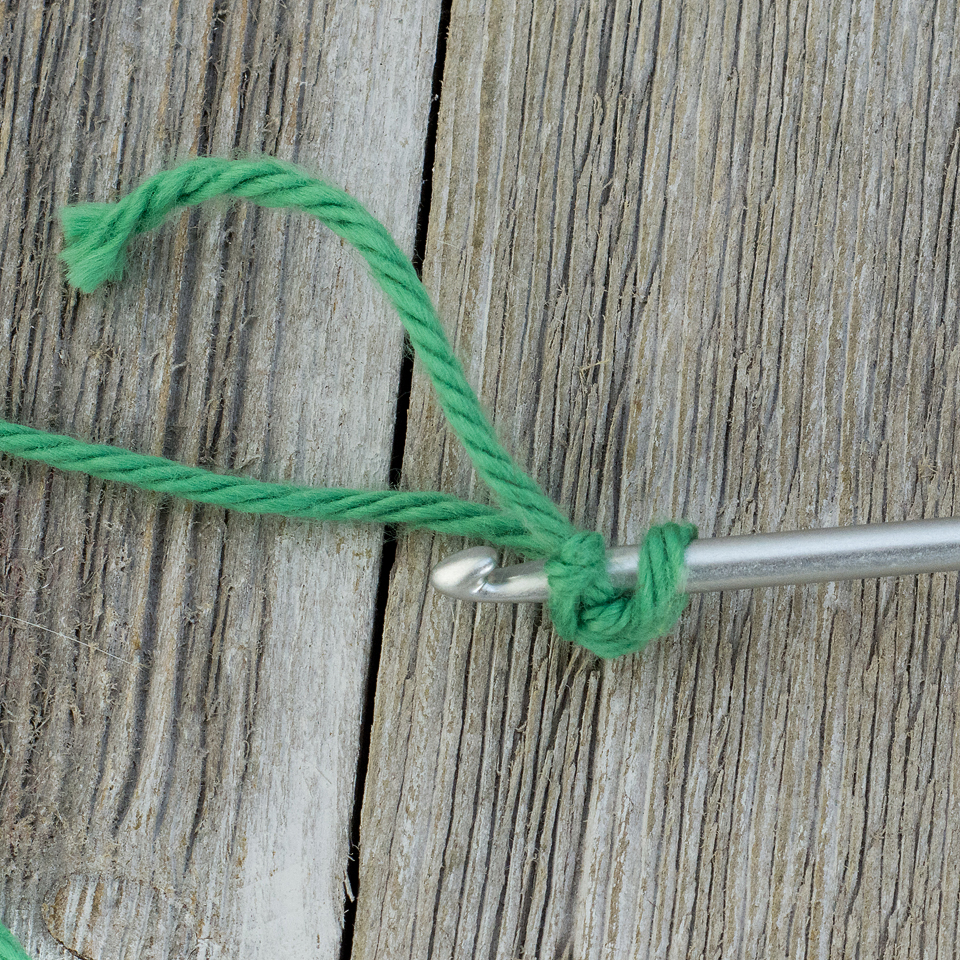
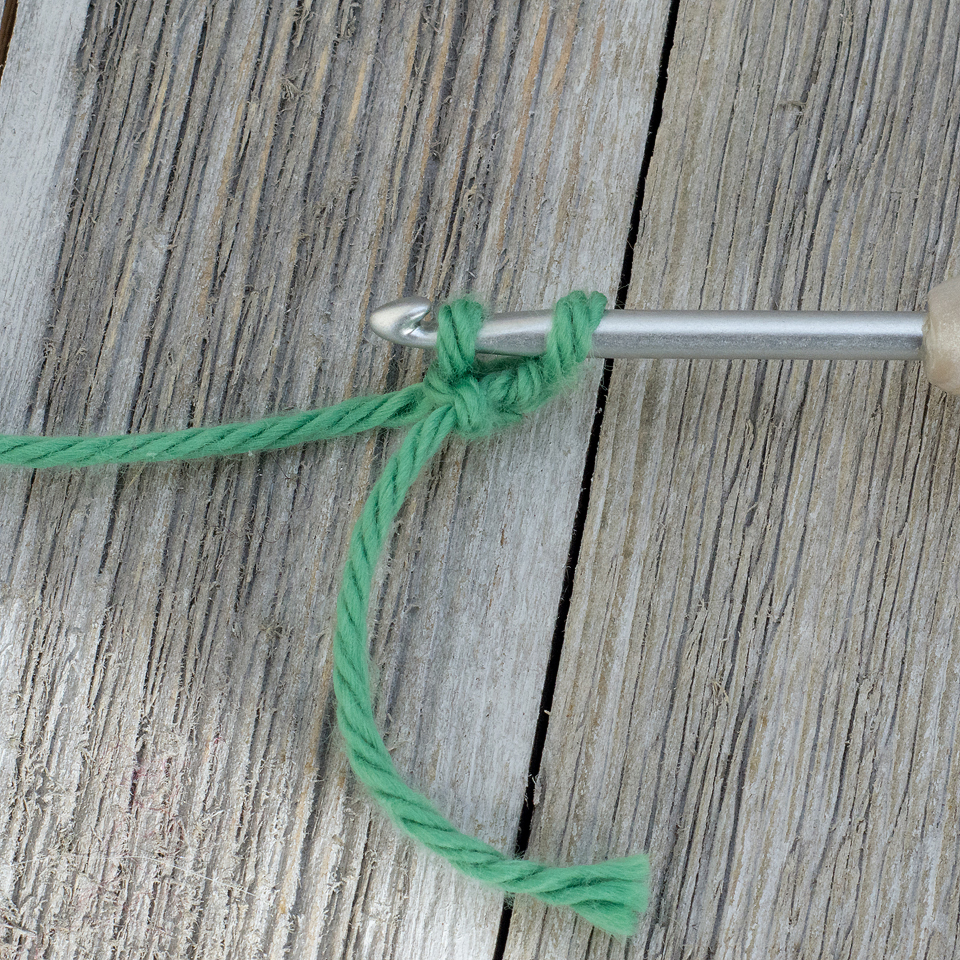
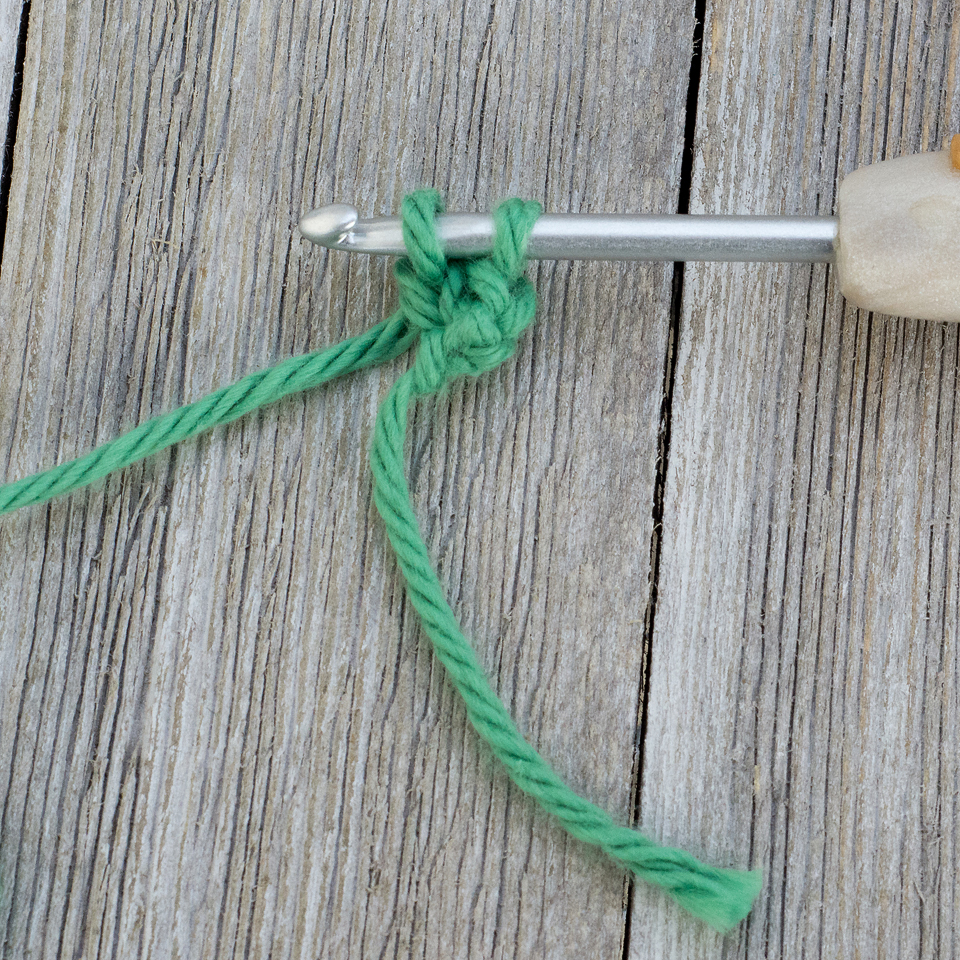
With E (3.5mm) hook and green yarn, ch-2, insert hook into 1st ch (2 loops are now on the hook).
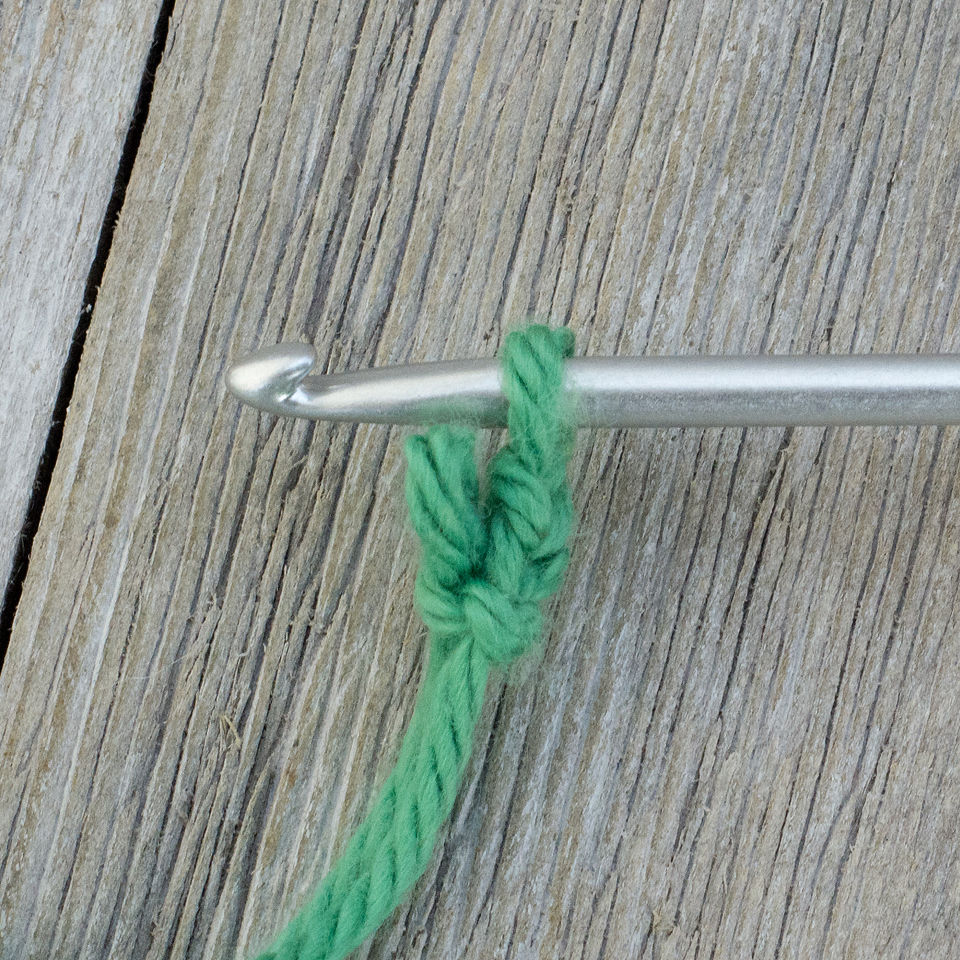
Row 1: Ch-1 in left-hand loop only. Remove left-hand loop (careful not to drop or unravel this loop). Ch-1 in right-hand loop only. Place left-hand loop back on hook.
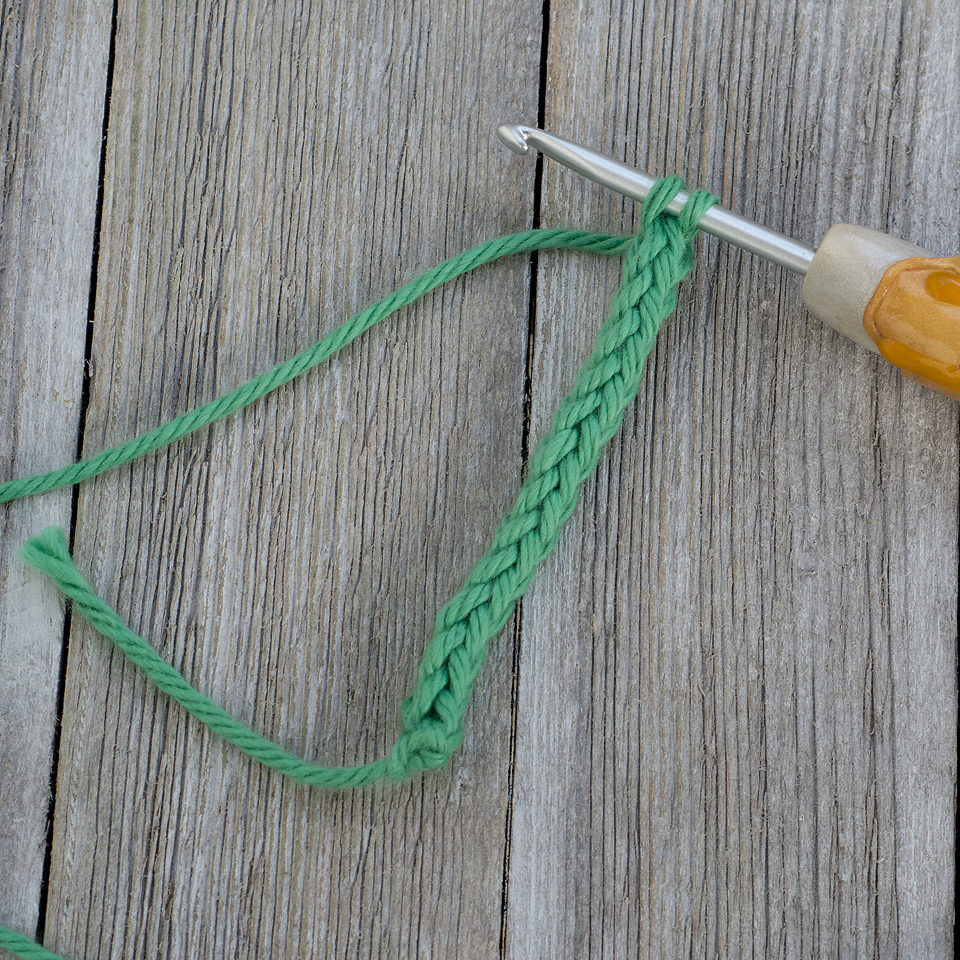
Row 2- 12: Repeat Row 1 (11 more times).
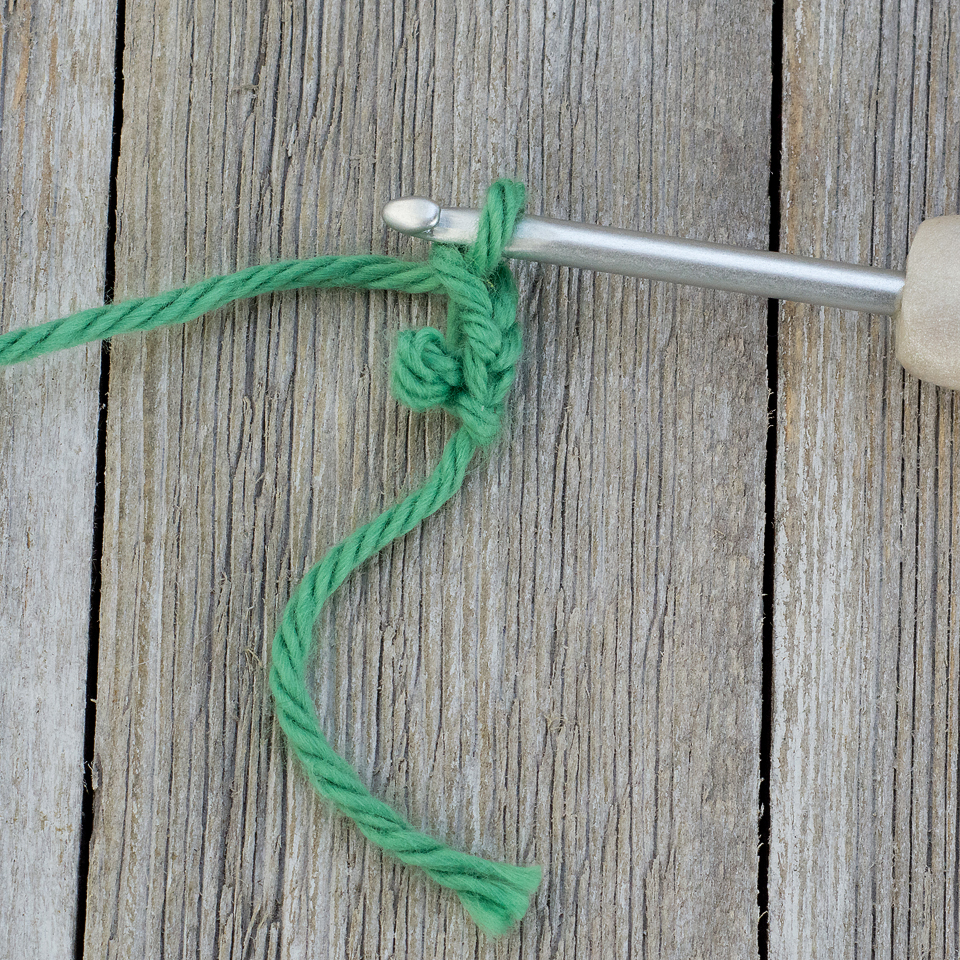
Stem will measure approximately 2½” long.
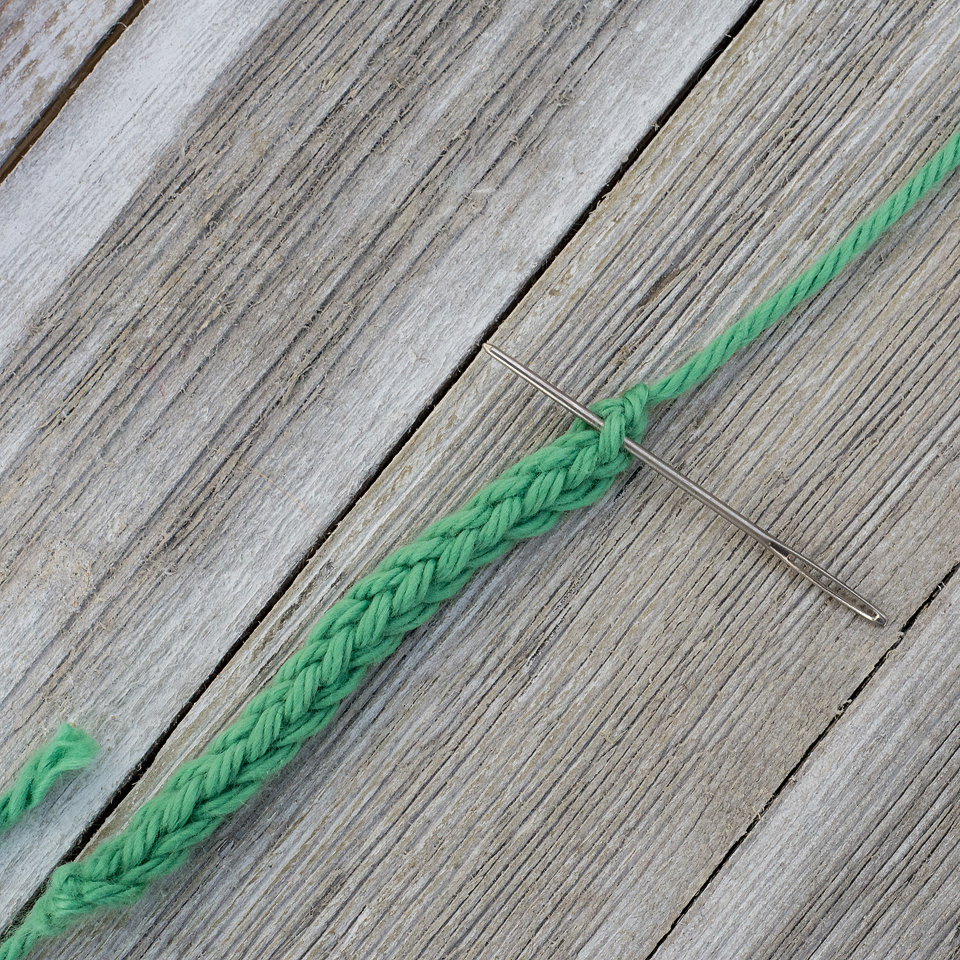
Row 13. Pull a loop through both loops on hook. FO. Weave in ends.
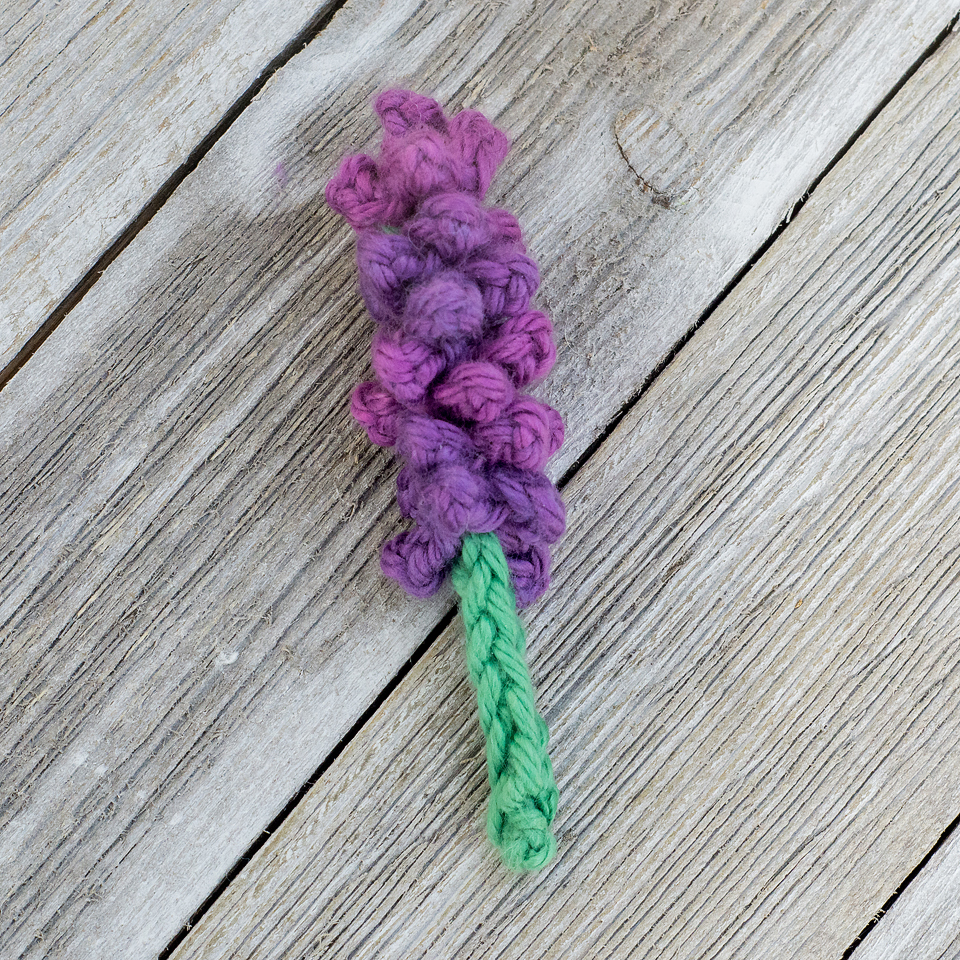
Flower:
Don’t worry about perfection of working in every loop. Nature is often not perfect, that is what makes it so beautiful. You could even try purposely skipping a few loops between rows and petals to give it a parser look. There is many different types of Lavender in the wild.
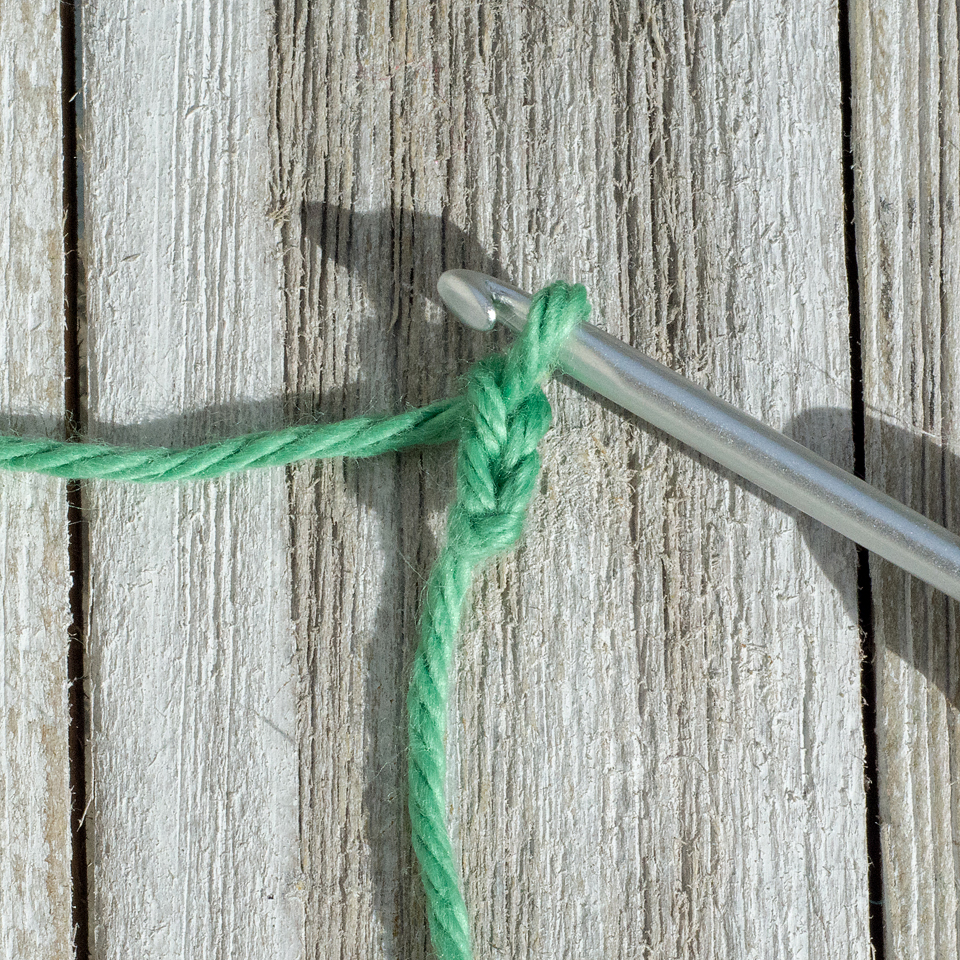
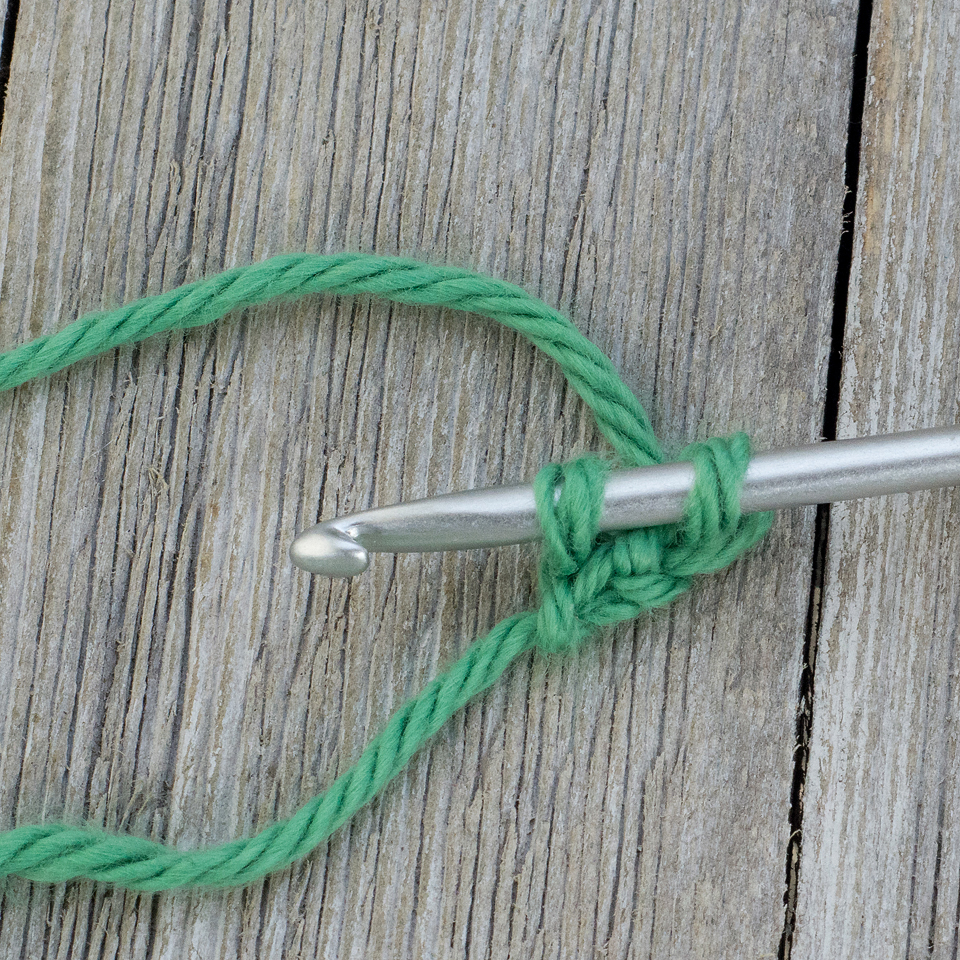
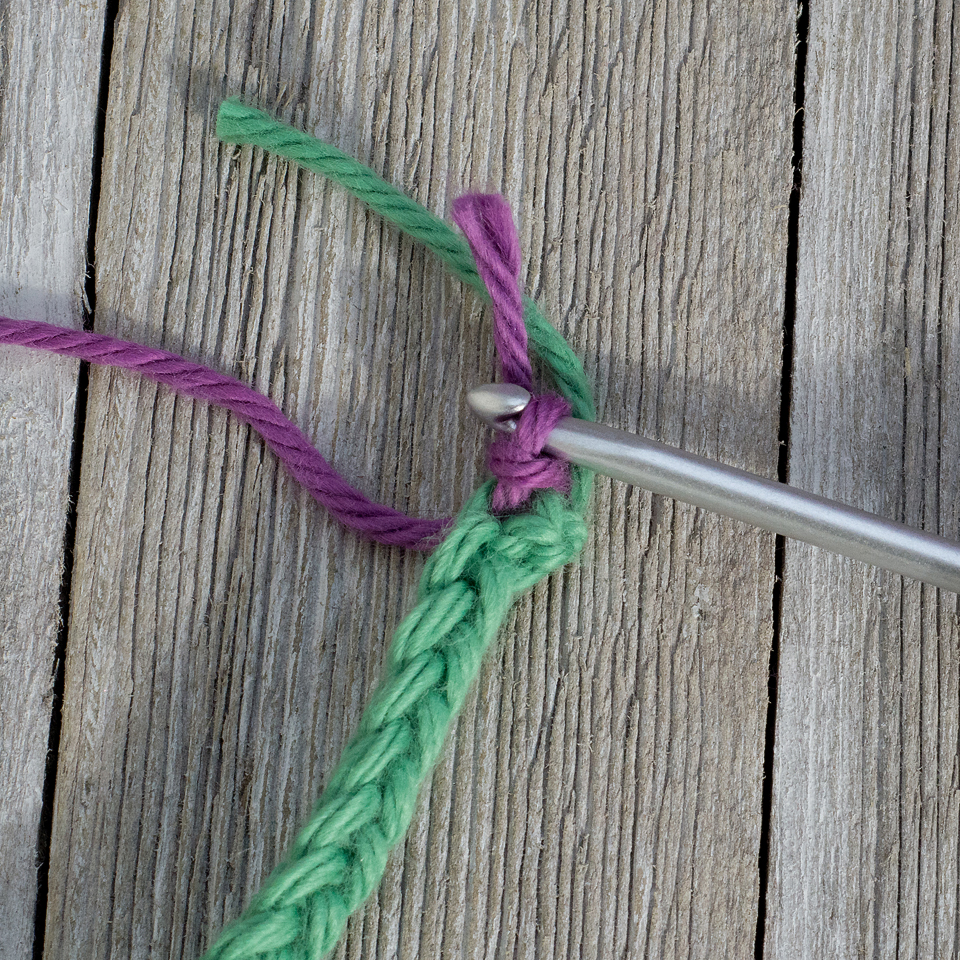
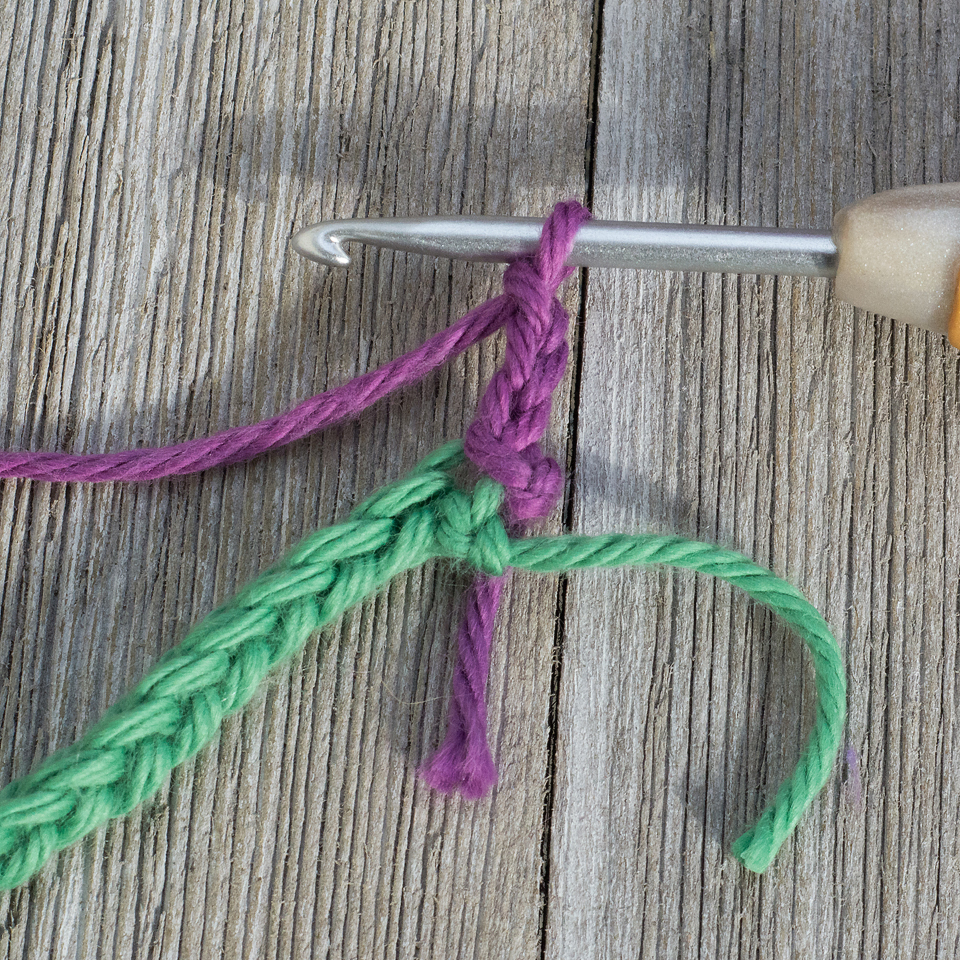
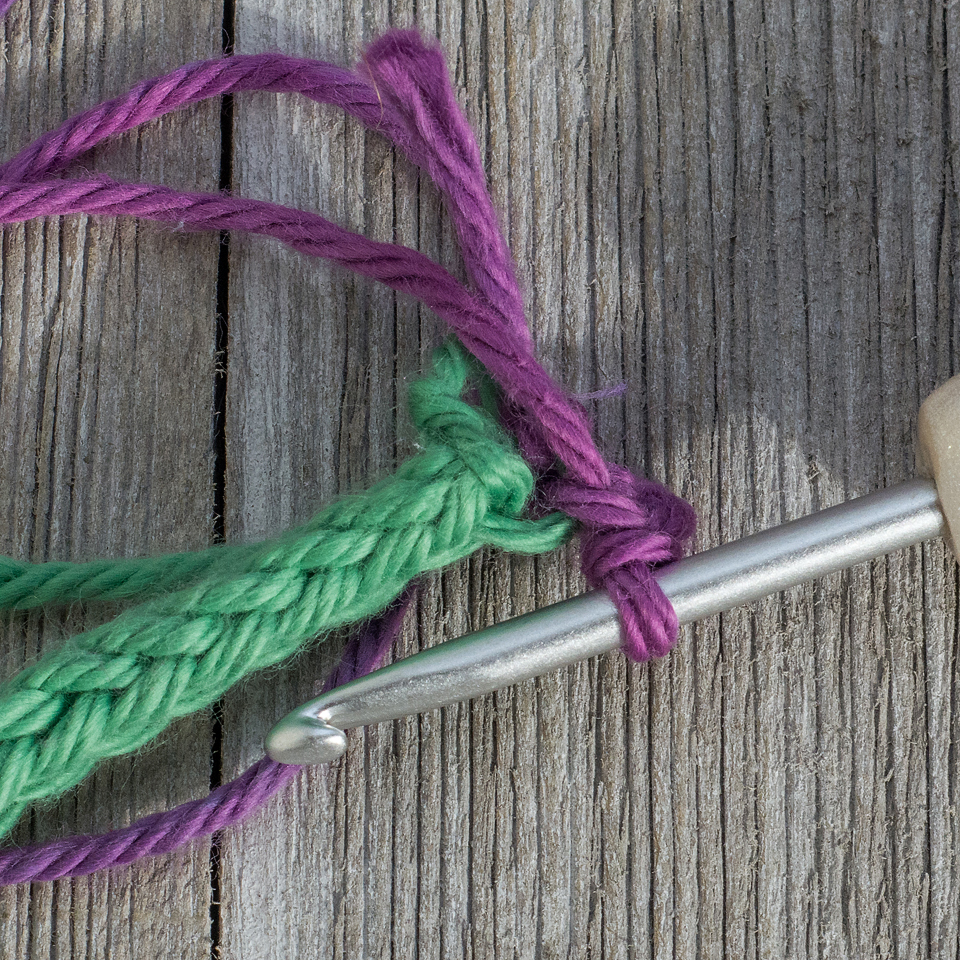
With E (3.5mm) hook and purple yarn, sl st in 1st loop of top of stem. There are four loops per i-cord row (see pic below).
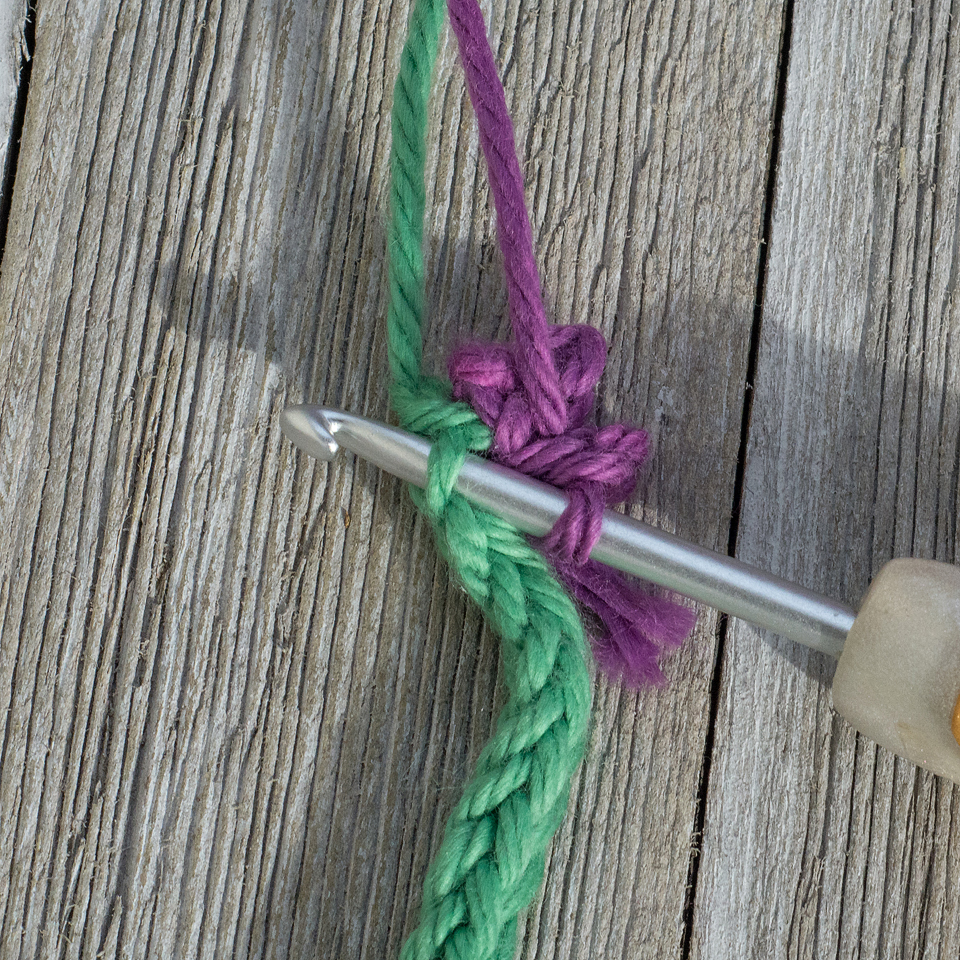
Round 1: *work picot, sl in next loop* repeat 3 times, work picot. ( 4 picots)
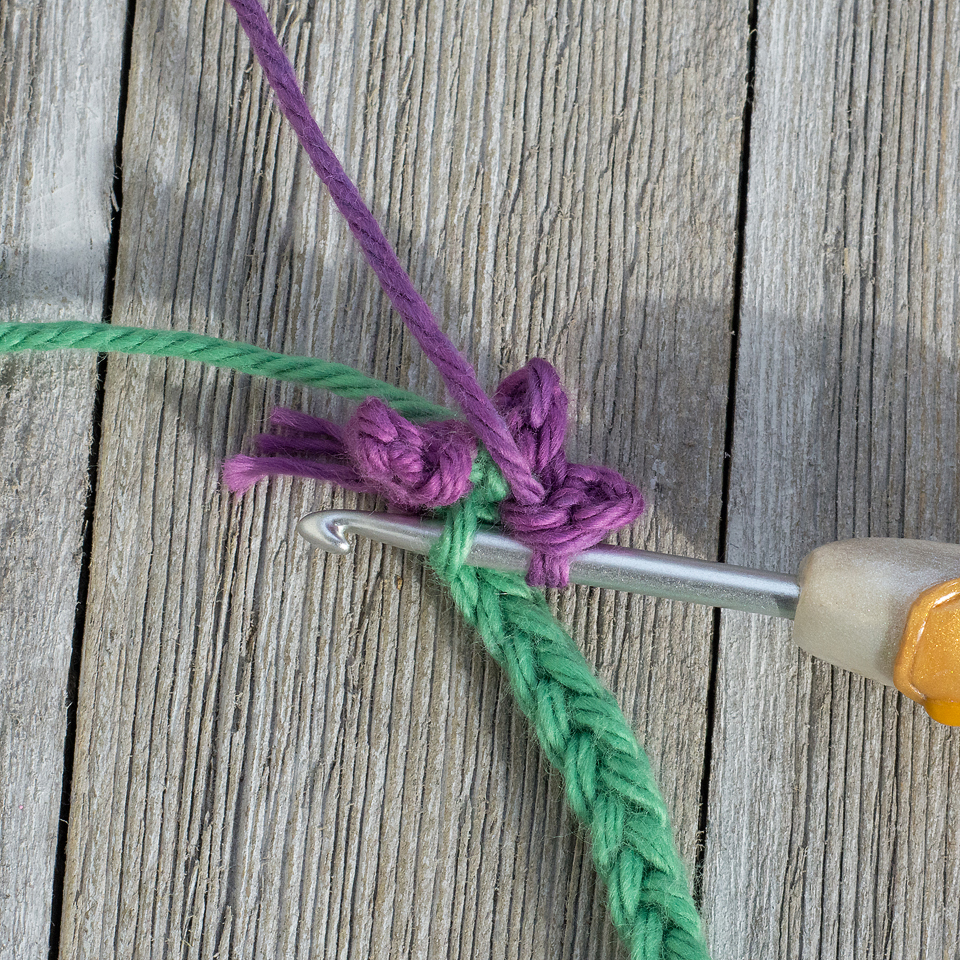
Round 2: sl st in loop directly below 1st loop of previous round, *work picot, sl st in next loop* repeat 3 times, work picot.
Round 3-7: Repeat row 2 (5 more times) (approx. half stem)
FO. Weave in ends.
At this point, the flower’s petals will be appear more stacked. Before sewing on to cozy, give the flower a slight twist so petals appear more random.
Finishing:
Cut a small amount of jute twine. Group flowers together and tie jute twine into a bow around flower’s stems. Sew flowers to front of cup cozy.
Don’t forget to share your projects on Ravelry or in the comments!
Or share on Instagram and tag #mycreativeblog.

Leave a comment