
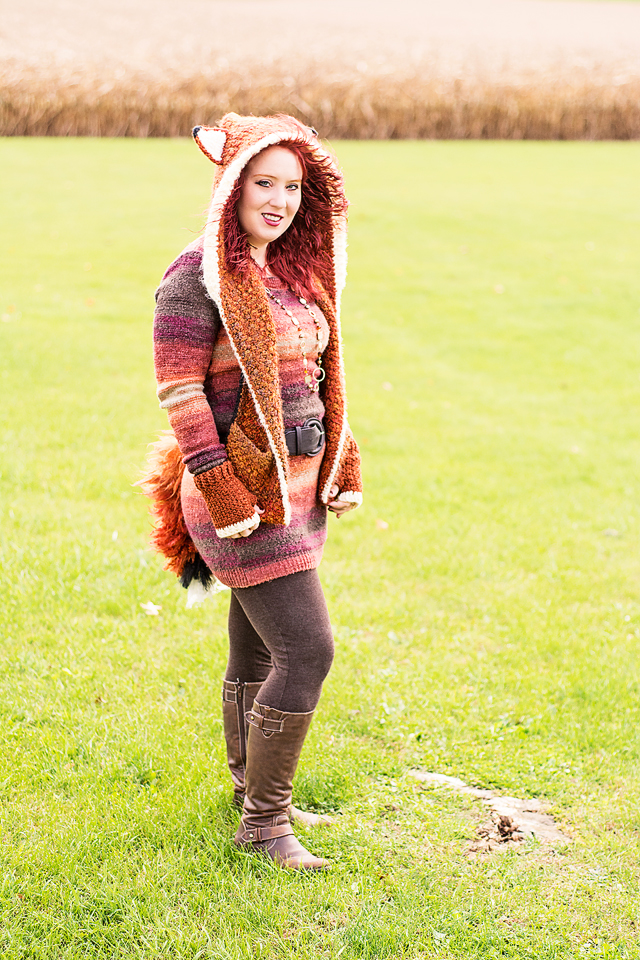
For Halloween, I embraced my fox scoodie I had made and dressed as a fox. I made a fox tail to go with my costume following a tutorial I found online and used the same yarn as my fox scoodie. I’ve included a link to the tutorial.
http://www.isavea2z.com/costume-wolf-tail-tutorial/
Since it was a quick, last minute project for me, I didn’t follow the tutorial to a T, but enough to get my desired result. I cut 12 pieces of yarn about 2½ – 3 feet in length each, folded in half and tied a knot at the top of the fold to create a loop. I braided this yarn together and secured it with a piece of string at the end.
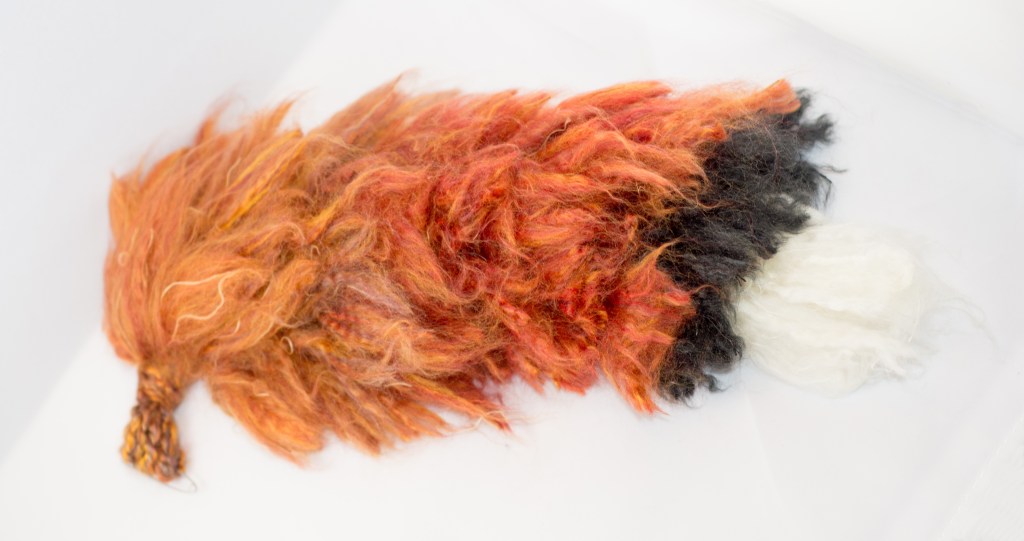
Then I loosely wrapped yarn around my hand about 10 times, took a piece of string and tied around the center, then cut the loops on each side. I brushed out this yarn to make it furry and more like hair. Then in between the braided strings, I weaved the loose string from where I tied it around the furry strands and secured it with a knot on the backside. I did this several times up the braid, starting from the bottom up and using white for the end, then a layer of black, and finally the reddish-orange for the remainder of the tail. I staggered the distance based on where the furry yarn would lay on the layer beneath it. I skipped ironing the yarn to be straight as I feared that could be a fire hazard and I was limited on the amount of time I had to make this tail.
I was able to complete this project in under an hour and the tail measures about 15 inches in length. I took a large safety pin and put the top loops of the tail on the backside of the pin and pinned the tail to me. I happened to be wearing a decorative belt that I was able to strategically place over top of the loop to hide it. Overall, I was happy with the outcome and the look. Happy Crafting!

Leave a comment