

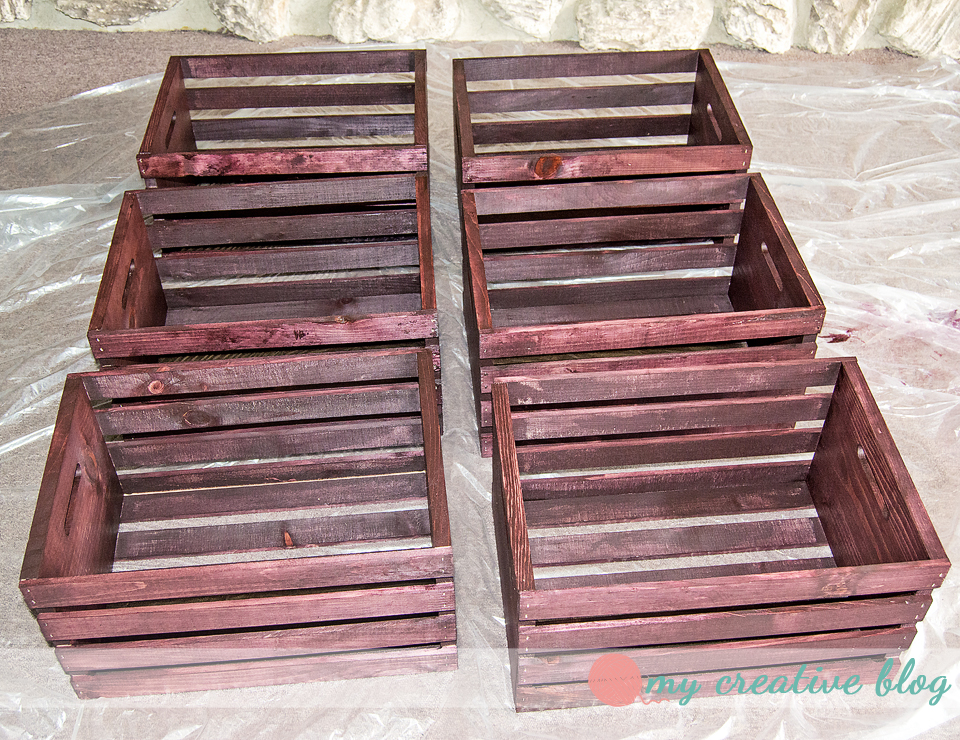
Supplies:
4-6 crates (I bought mine at Walmart)
Small can of stain (The one I bought was much larger than needed. Stain goes far)
Staining Pad/Sponge (The best is the cloth wrapped sponge, like I used)
Latex Gloves
Drop Cloth/Plastic to work on
Screws for mounting to the wall

Details:
Lay down the drop cloth, and begin staining all the crates. Be sure to wear protective gloves as stain can take awhile to wear off skin and nails. If you do get stain on you, I find that Dawn dish detergent will help reduce the stain.
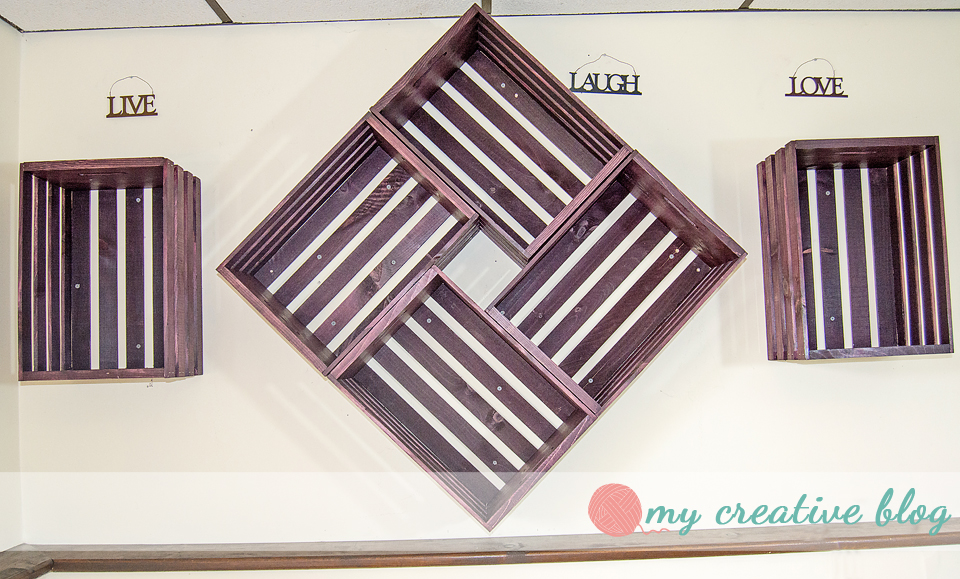
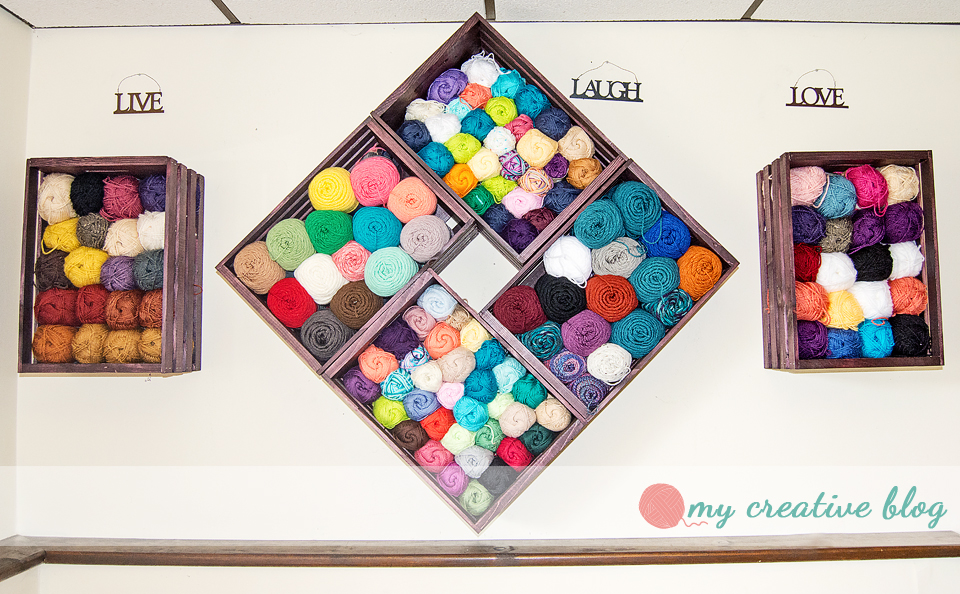
Hang your crates on the wall by screwing them to the wall. I had my husband help me with this. Create a design, if you like. I decided to make a diamond and have a crate on either side. If I had used four, I probably would have turned the diamond on its side to make a square. Have fun with it and see what other designs you can come up with by adding or taking away crates. Post your creations in the comments and enjoy!

Leave a comment