
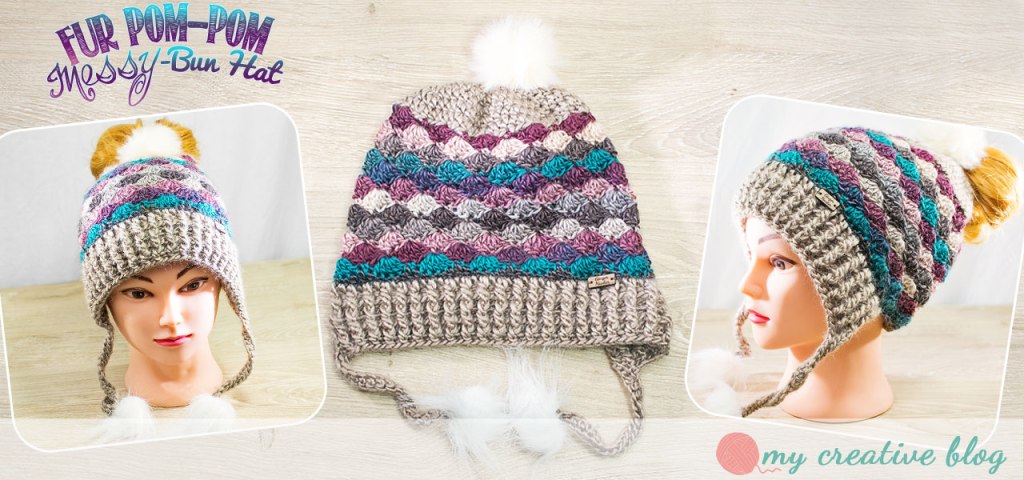
The latest trend in the crochet world are these Messy-bun hats. I enjoy them because they are perfect for those days that I just don’t want to put in a lot of effort into my hair but still need to wear a hat for the cold temperatures. Also trending right now are fur pom-poms, so I decided to combine the two and create this pretty and fun Messy-Bun Hat.
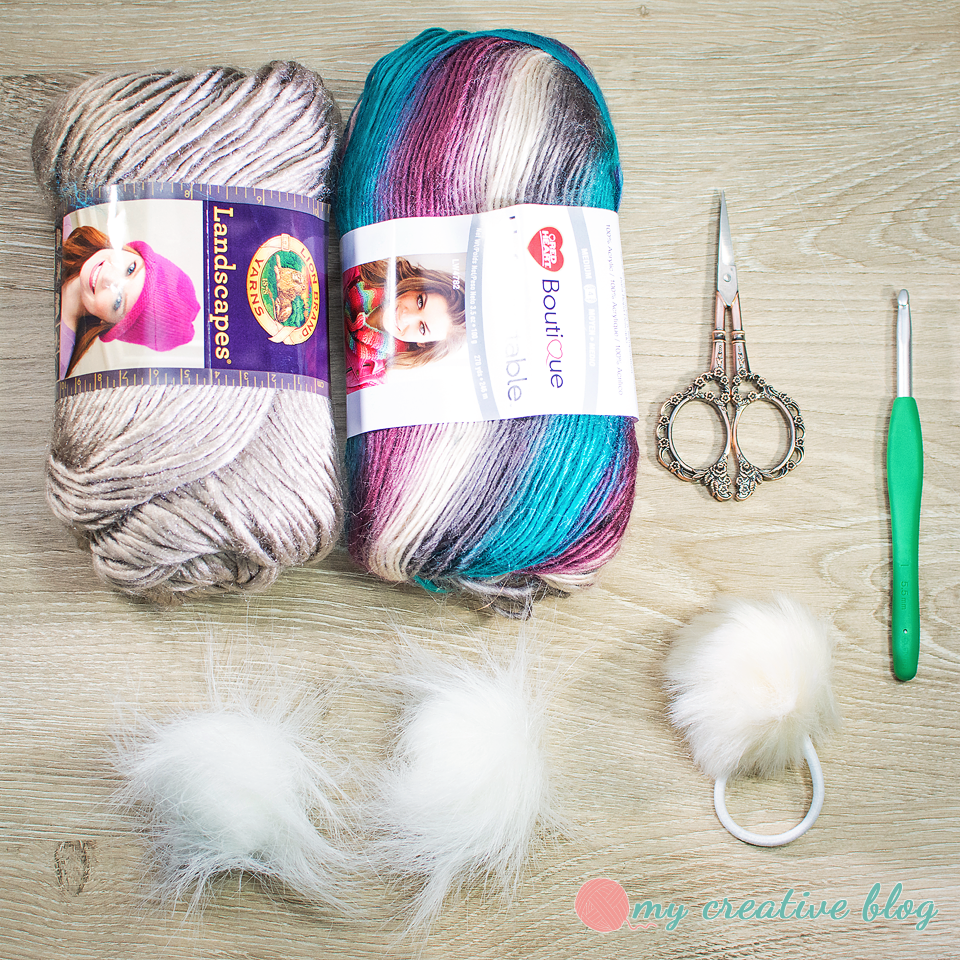
Materials:
– ½ skein Lionbrand Landscapes in Taupe, worsted weight yarn (MC).
– ½ skein Redheart Boutique Unforgettable in Tealberry, worsted weight yarn (CC).
– Fur Pom-Pom Hair Tie
– 2 Small Fur Pom-Poms
– Size I (5.5mm) Crochet Hook
Gauge: 4 sts x 3 rows = 1″ x 1″ over hdc
Difficulty:
❤♡♡♡ Beginner
| Abbreviations: | |
| ch(s) = Chain(s) sp(s) = space(s) st(s) = stitch(es) sl st = Slip Stitch sk = Skip | sc = Single Crochet hdc = Half Double Crochet dc = Double Crochet RS = Right Side WS = Wrong Side FO = Finish Off |
Special Techniques:
Standing Double Crochet- Worked at the beginning of a joined around instead of a ch-2 or ch-3 to create a seamless seam. Check out this tutorial by Briana K Designs, Standing Double Crochet.
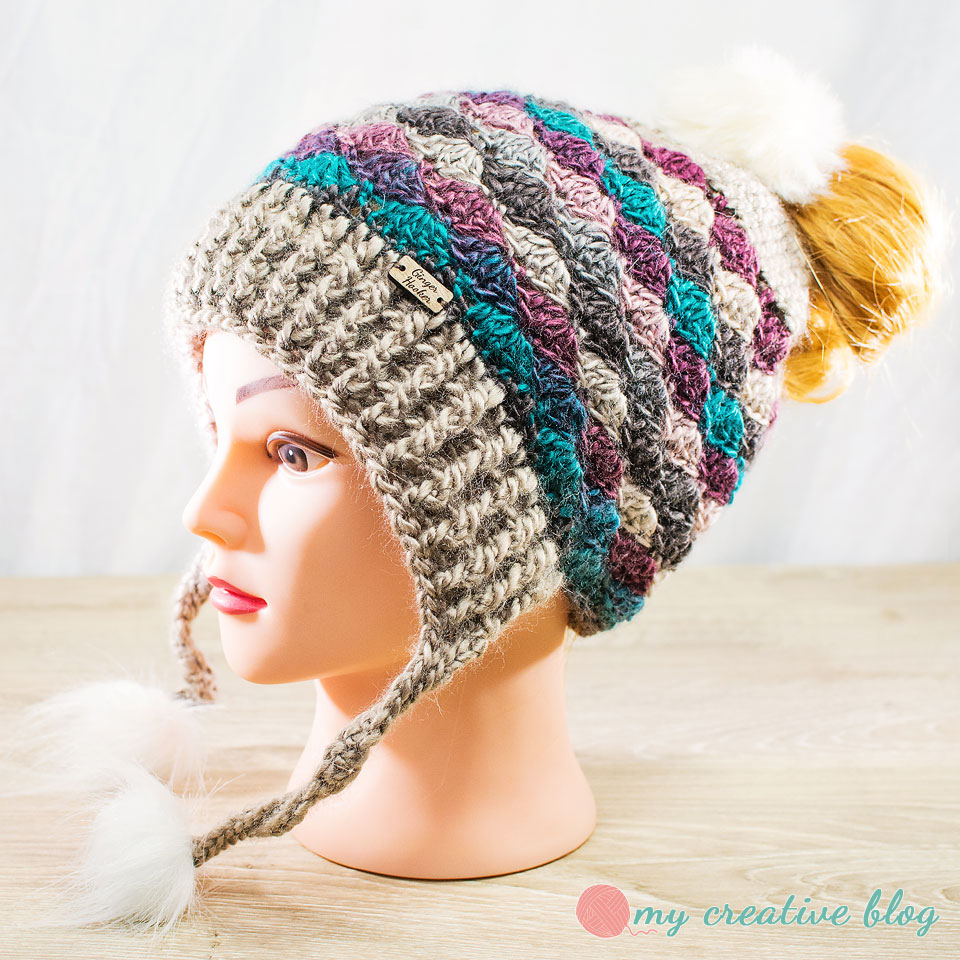
Messy-Bun Hat – Adult:
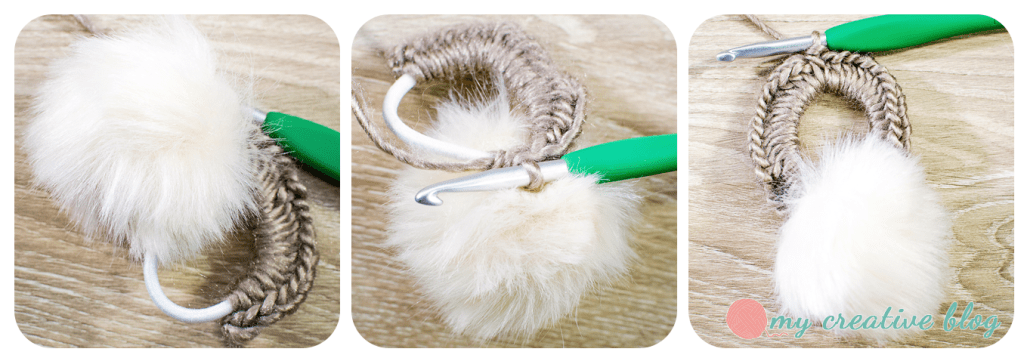
The first few rounds are worked in the round, do not join.
Round 1: With MC and I (5.5mm) hook and starting at the bottom (the furthest away from the fur pom-pom, work 20 hdc around the hair tie, then taking the arm behind the fur pom-pom (so that the fur pom-pom sits on top of the right side of the stitches), work another 20 hdc around the other side of the hair tie. (40)
Round 2: *hdc 4, 2 hdc* around. (48)
Round 3: *hdc 5, 2 hdc* around. (56)
Round 4: *hdc 6, 2 hdc* around. (64)
Round 5: * hdc 7, 2 hdc* around, join to first hdc. (72)
The next rounds are worked in joined rounds. Change to CC.
Round 6: Ch 1, sc in same st, sk 2 sts, 5 dc in next st, sk 2 sts, *sc in next st, sk 2 sts, 5 dc in next st, sk 2 sts* around. Sl st to 1st sc. (12 shells)
Round 7: Ch 2 (ch 2 does not count as a st, can use the Standing crochet technique instead to leave the beginning ch-2 out entirely), dc 3 in same st, sk 2 sts, sc in next dc, *sk 2 sts, 5 dc in sc, sk 2 sts, sc in next dc* around. sk 2 sts, dc 2 in same st as beginning st, sl st to 1st dc (not ch-2). (12 shells)
Round 8-17: Repeat Rounds 6 & 7.
Round 18: ch 2, dc in same st (can use the Standing crochet technique instead), hdc in next st, sc in next 3 sts, hdc in next st, *dc in next st, hdc in next st, sc in next 3 sts, hdc in next st* around, sl st to 1st st. FO. Weave in ends. (72)
Ribbed Brim:
Row 1: Count 11 sts from the beginning st of Round 13. With MC, join in the next st (12th st), ch-2 and dc in the same st (can use the Standing crochet technique instead) and the next 49 sts. Leave remaining 11 sts unworked. (50)
Row 2: ch-2, turn, dc in same st, fptr, bptr to last st, dc in last st. (50)
Row 3-4: Repeat Row 2.
Row 5: Ch 22 (or length of tassel you’d like + 1), sc in 2nd ch from hook and each ch until 1 ch remains. dc in 1st st of Row 4, fptr, bptr until last st, ch 21 (or the same length of the tassel you made on the other side, with no additional ch), sc in 2nd ch from hook and each ch to end, dc in last st of Row 4. FO. Weave in ends.
Add small fur pom-poms to ends of tassels.
If you’d like to try your hand at creating your own fur pom-poms, check out Briana K Designs tutorial on creating Fur Pom-Poms.
Don’t forget to share your projects on Ravelry or in the comments!
Or share on Instagram and tag #mycreativeblog.

Leave a comment